Here are a few ideas on how to install a garden water feature
Granite bowl in-ground reservoir water feature
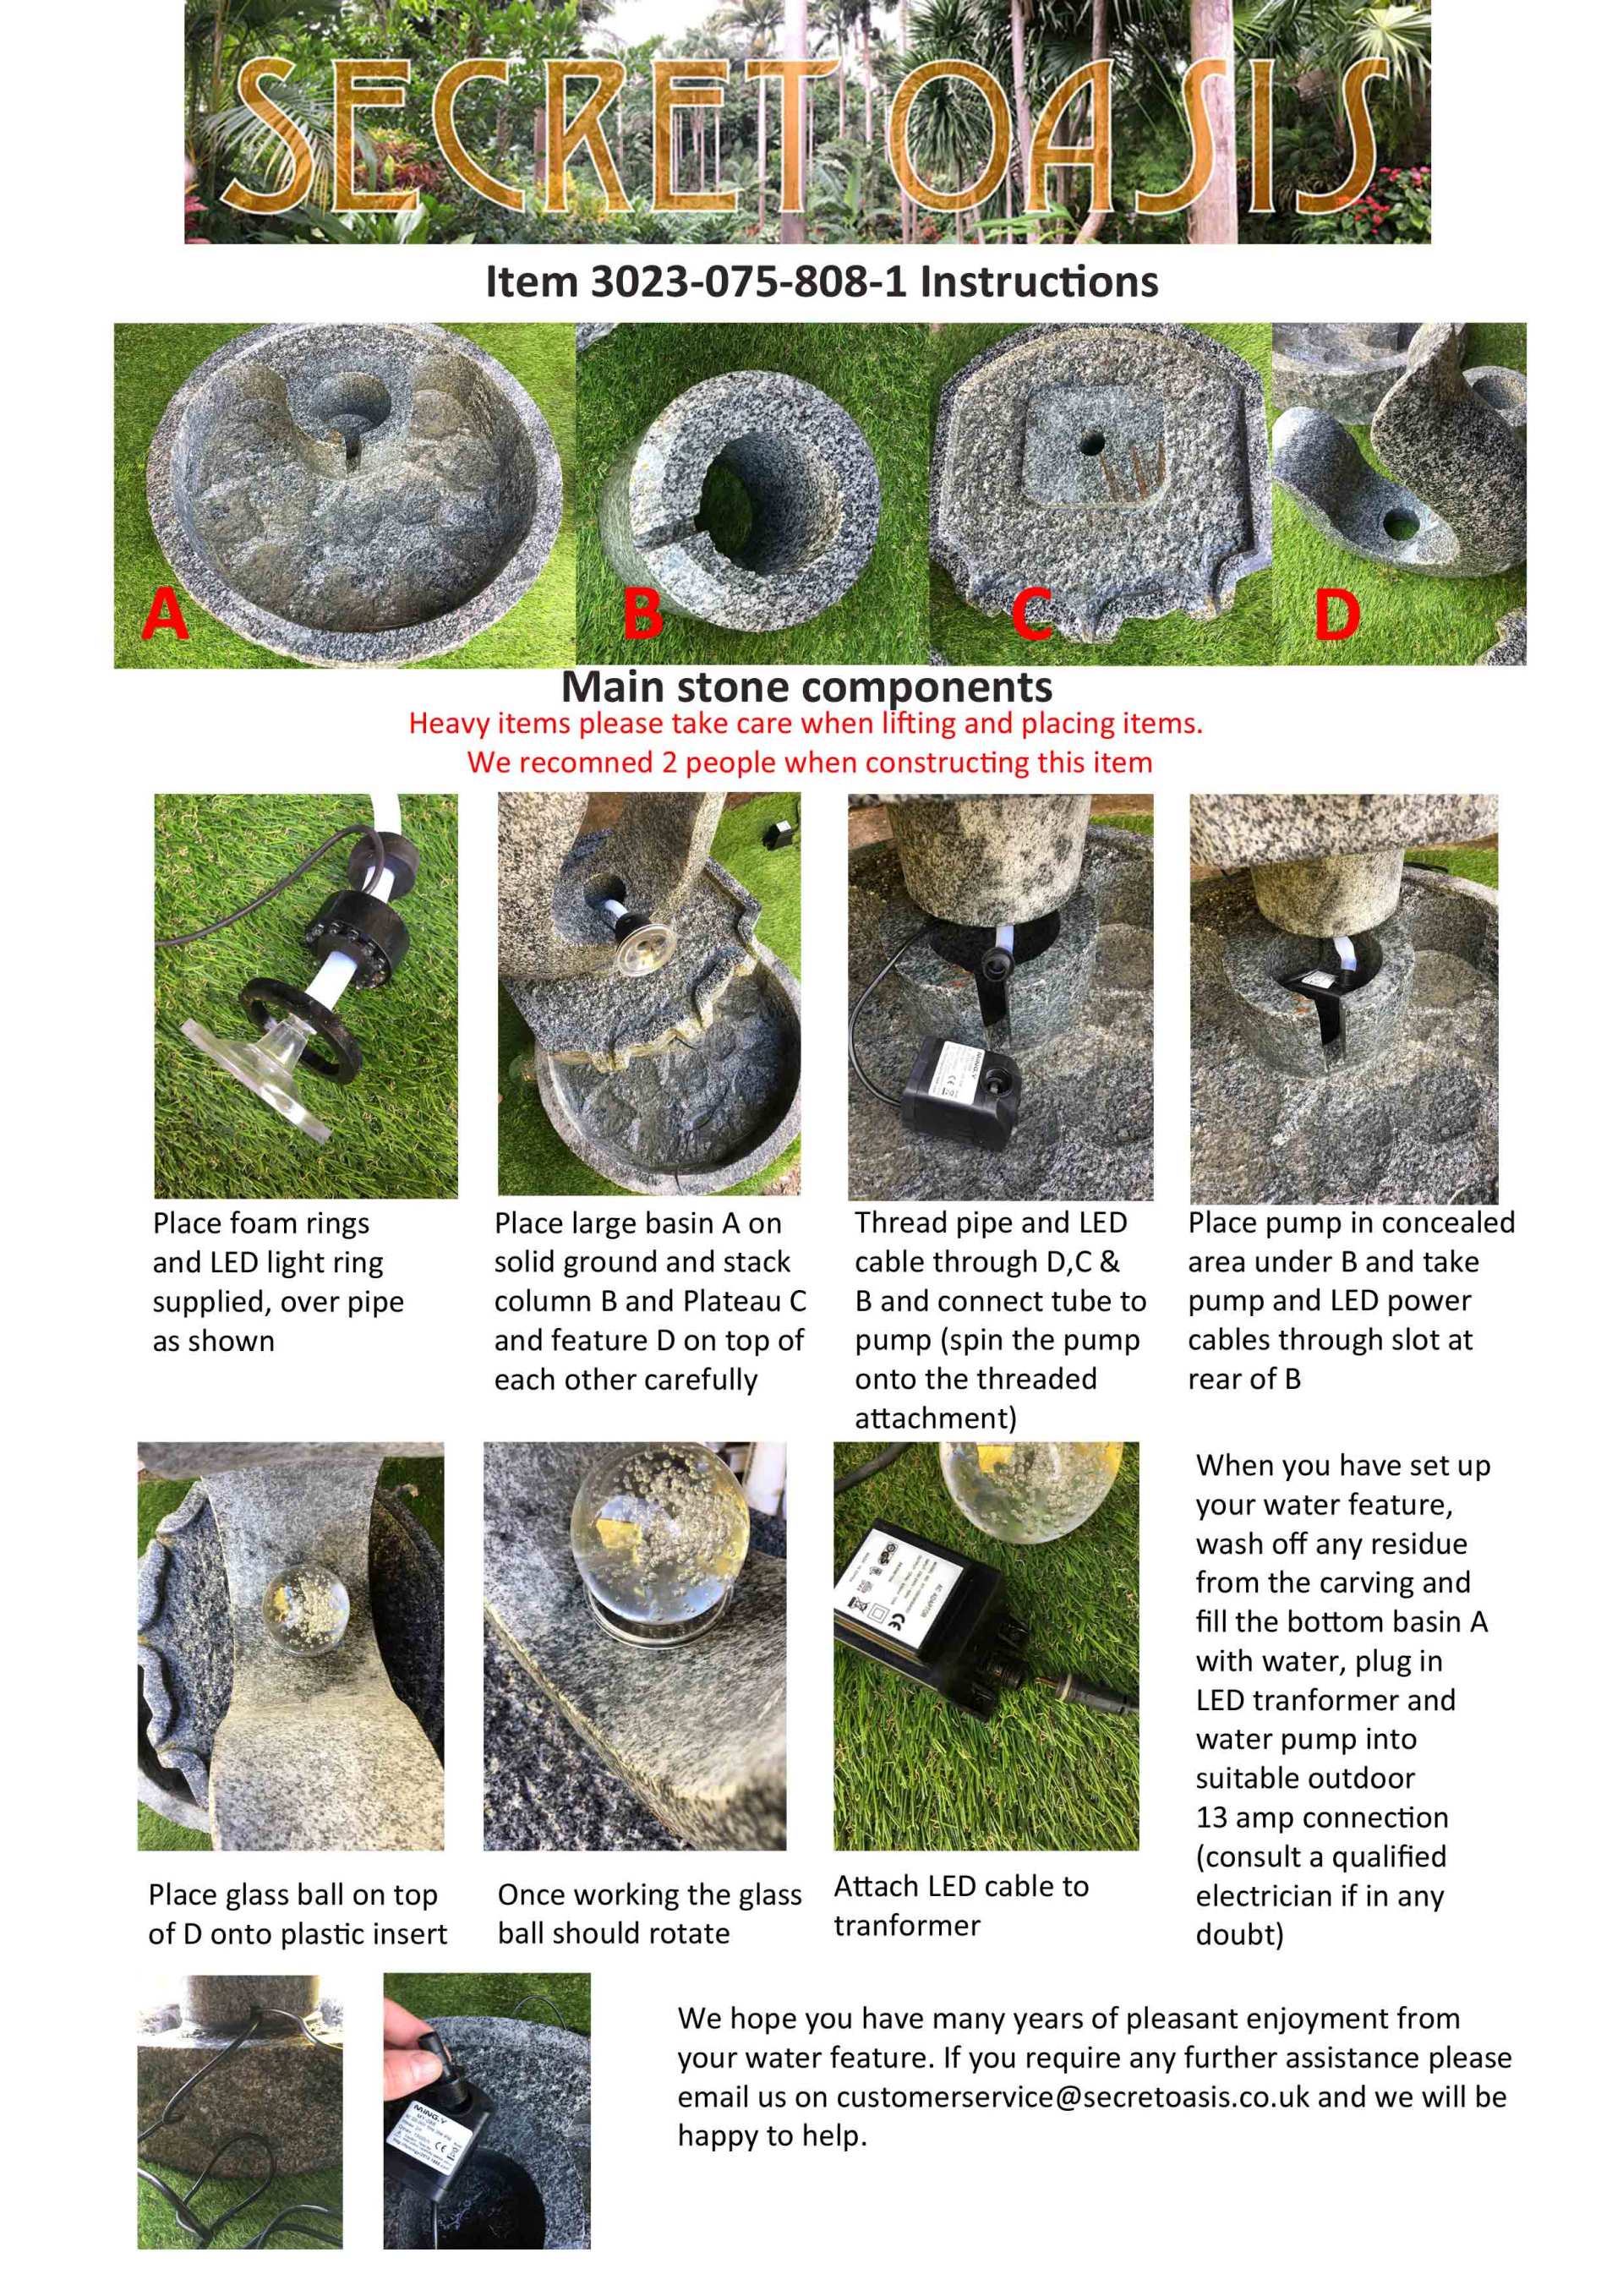
The best way to install this feature is to dig a hole around 100cm in diameter and 5cm deeper than the reservoir (leave it sitting slightly proud of the surrounding ground so you don't get floor water getting into the chamber and cloud the water. Set the bowl in a weak mix of sand/cement or concrete depending on the ground, level up and backfill with the same mixture to give rigidity. Leave to set and then place the galvanised grid on top of the reservoir. Get either lifting equipment of 3-4 people to lift the bowl with ropes into position on the grid taking care to avoid covering the pump access hatch. Take the led light/water outlet and push the tube into the spigot and then thread the low voltage cable through the sponge O ring along with the tube and pull until the sponge fits tight under the light. Thread the tube and cable through the hole in the centre of the bowl from the top down inside and then attach the tube onto the spigot on the water pump and place the pump on the reservoir bottom. Thread the low voltage cable and the water pump plug out of the grid and to the transformer supplied and onto to the safe electrical connection point. Fill the reservoir to approx 5-10cm from the top of the bowl and turn on. Check the water falls over all sides and if not check the levelling of the bowl . Finally dress the grid with pebbles of your choice. If smaller pebbles are preferred the you can add a layer of finer mesh over the grid before placing the bowl in situ.Everlasting Granite
Cascading Water feature
Prepare level and solid base slightly larger than the base reservoir and place the reservoir and level up (it's best to set on some spacers under the feet so you can hook he cabled from underneath and onto the connection point.
Place the pump in the base and thread the power cable down the cable entry up-stand after removing the plug.
Place the largest stand in the location you require depending on what direction you want the bowls to face in the garden.
Take the top bowl (the one with a larger hole suitable for the sponge o-ring and led light to fit in) and thread the low voltage cabe and attach the water tube to the light and then through the hole from the top downwards and into the stand where the tube will need to be connected to the pump using the spigot provided. (this will need 2 people to tip the combination slightly to get you hand in). You may need to remove the screw cap form the low voltage cable to get it down the up-stand - some fit and some are a little tight - this can the be siliconed back on after connection.
Take the smaller stand and sit it in the desired position Take the two remaining bowls and silicone the led light in position over the drilled hole making sure to silicone the hole in the middle of the light as well so that no water can get past the light and be lost out of the bowl. When the silicone is dry, place the 2 bowls on the stand with the slit outlets so that the water cascades into the one below and finally into the reservoir base.
Fill the reservoir with water to approx 5cm (2") from the top of the reservoir lip and make good the pump connection to a 230v supply suitable for outdoor use and connect the low voltage cable to the transformer and once satisfied all is safe turn the power on and adjust the bowl positions if necessary. It will take a few minutes to get everything filled and settled down.
We also recommend that once installed outdoors that the feature is de-commissioned for the winter with all water removed from the reservoirs and fitted with a waterproof cover so it does not collect rainwater. Alternatively you can leave it running but remain vigilant at the first sign of frost and then de-commission and mothball until spring.
If you don't see your item in the sale, do get in touch
and we'll see what we can do.
There's always a deal to be done!
Send us a message
Insert your email address to send us an enquiry. We create new items frequently.
Please try again later


